[MIT-6.S081/Fall2020] 实验笔记零 Lab0: Preparation
写在前面的话
为了更好地理解RISC-V指令集,也为了熟悉QEMU,所以选择刷一遍MIT-6.S081的实验。希望不仅仅以做Lab为目的,同时也精读几篇OS领域经典文章。
可能好多人都卡在环境准备上,但后来我发现:趁早动手做实验,比准备环境更重要~
环境搭建
参考 6.S081 官方的配置教程:Tools
本人用的环境是基于Qemu(KVM)上的Ubuntu 20.04。
首先安装RISC-V工具链、GDB-Multiarch、QEMU:
1 | |
检查一遍自己的环境
1 | |
测试环境
能在QEMU中启动xv6,环境就算准备完了,可以动手做实验了~
1 | |
退出 QEMU 快捷键是 Ctrl-a + x
好了,我们现在可以动手做实验了。
如何在 QEMU 中使用 gdb
首先用
tmux开两个终端窗口。第一个窗口键入
make qemu-gdb.1
2$ make qemu-gdb
*** Now run 'gdb' in another window. qemu-system-riscv64 -machine virt -bios none -kernel kernel/kernel -m 128M -smp 3 -nographic -drive file=fs.img,if=none,format=raw,id=x0 -device virtio-blk-device,drive=x0,bus=virtio-mmio-bus.0 -S -gdb tcp::26000在第二个窗口中:
3.1. 修改自己home目录下的.gdbinit文件,允许gdb在xv6-labs-2020这个目录启动的时候,加载该文件夹下的.gdbinit文件。1
echo "add-auto-load-safe-path $(pwd)/.gdbinit " >> ~/.gdbinit3.2. 启动
gdb-multiarch1
2
3
4
5
6
7
8
9
10
11
12
13
14
15
16
17
18
19
20
21
22$ gdb-multiarch
GNU gdb (Ubuntu 9.2-0ubuntu1~20.04) 9.2
Copyright (C) 2020 Free Software Foundation, Inc.
License GPLv3+: GNU GPL version 3 or later <http://gnu.org/licenses/gpl.ht
ml>
This is free software: you are free to change and redistribute it.
There is NO WARRANTY, to the extent permitted by law.
Type "show copying" and "show warranty" for details.
This GDB was configured as "x86_64-linux-gnu".
Type "show configuration" for configuration details.
For bug reporting instructions, please see:
<http://www.gnu.org/software/gdb/bugs/>.
Find the GDB manual and other documentation resources online at:
<http://www.gnu.org/software/gdb/documentation/>.
For help, type "help".
Type "apropos word" to search for commands related to "word".
The target architecture is assumed to be riscv:rv64
warning: No executable has been specified and target does not support
determining executable automatically. Try using the "file" command.
0x0000000000001000 in ?? ()
(gdb)3.3 给代码打断点
file user/_lsb mainc- 之后就是正常的
GDB使用流程了
第二个窗口:
1
2
3
4
5
6
7
8
9
10
11
12(gdb) file user/_ls
Reading symbols from user/_ls...
(gdb) b main
Breakpoint 1 at 0x27a: file user/ls.c, line 75.
(gdb) c
Continuing.
[Switching to Thread 1.3]
Thread 3 hit Breakpoint 1, main (argc=0, argv=0x6c <fmtname+108>)
at user/ls.c:75
75 {
(gdb)第一个窗口
1
2
3
4
5
6
7
8(......)
xv6 kernel is booting
hart 1 starting
hart 2 starting
init: starting sh
$ ls
(等待 gdb 发送 continue 信号)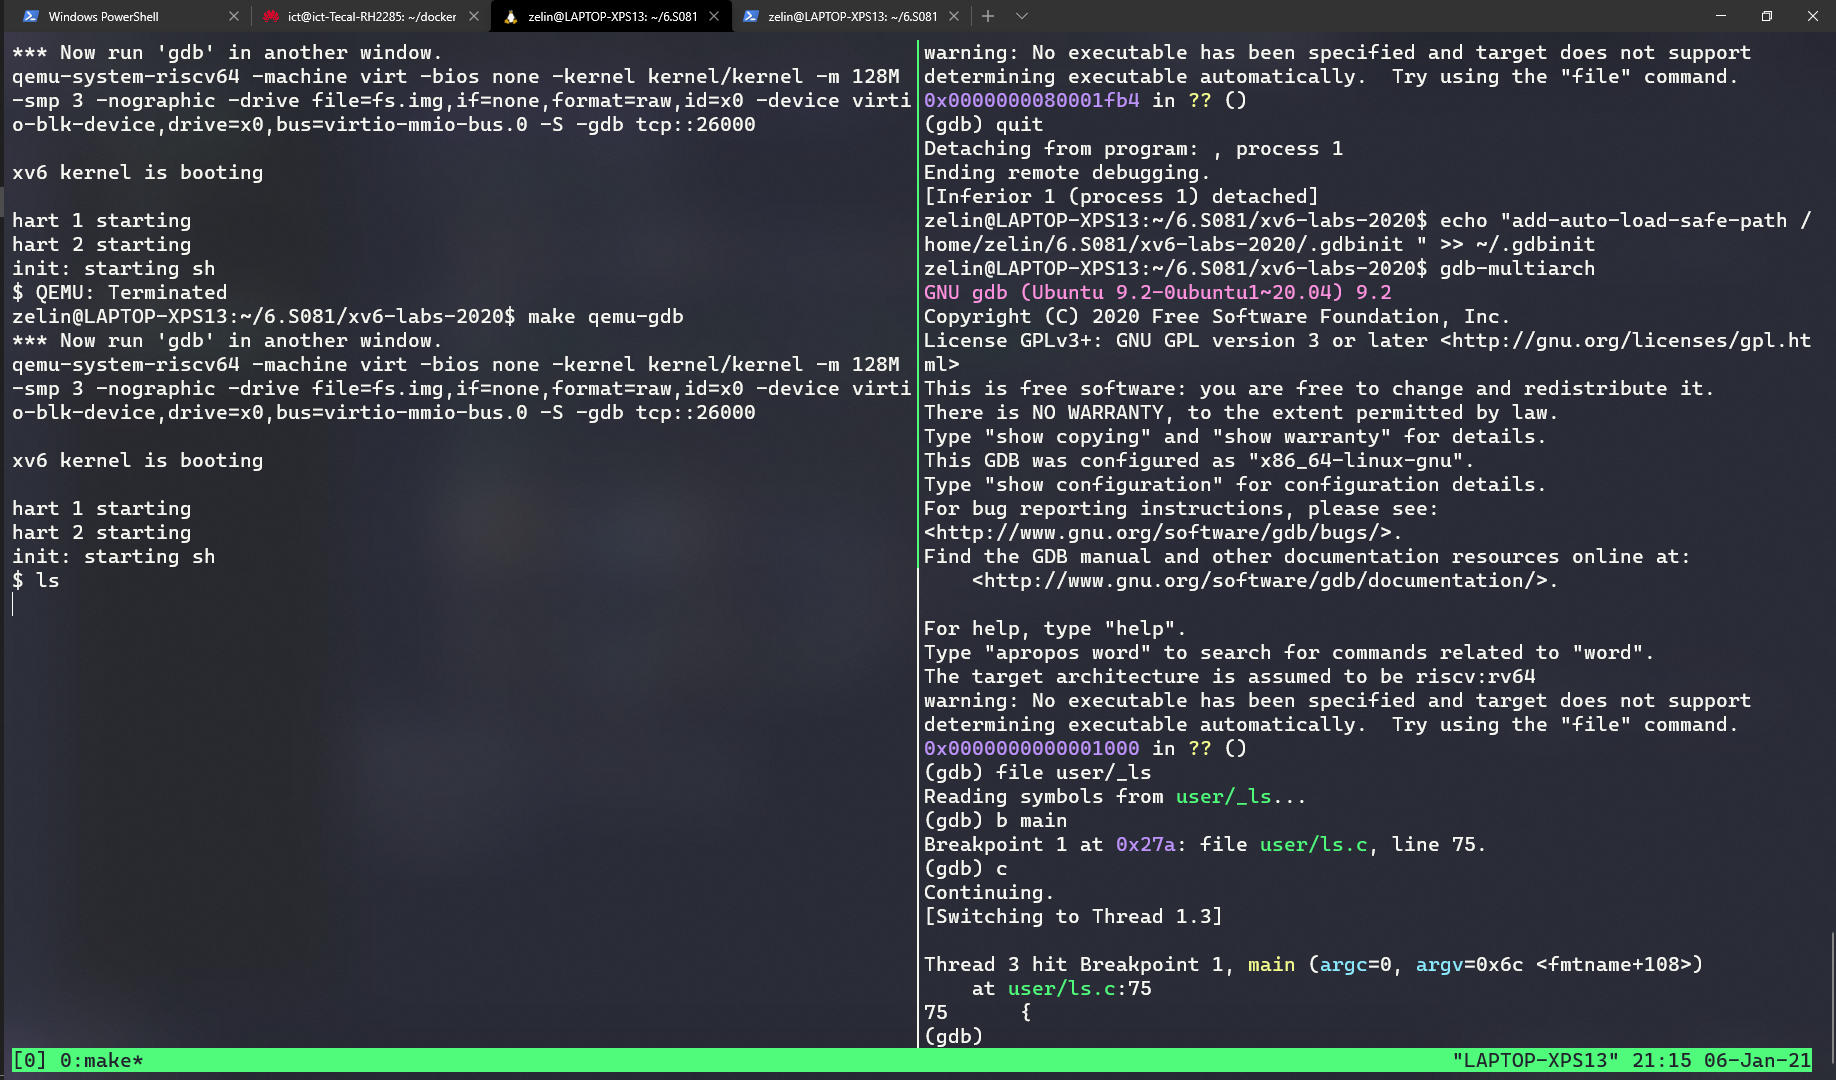
之后我们就可以正常地通过
GDB调试程序了~
[MIT-6.S081/Fall2020] 实验笔记零 Lab0: Preparation
https://gwzlchn.github.io/202106/6-s081-lab0/